A Complete Guide to the Art of Blade Sharpening As I learn more about the craft, I see how important having sharp blades is. My tools’ effectiveness and efficiency depend on how sharp they are, whether I’m cooking or working on a do-it-yourself project. In addition to making cutting chores simpler, a sharp blade improves accuracy, enabling me to produce cleaner cuts and superior outcomes. For example, I can easily cut through vegetables while maintaining their flavor and texture when I use a sharp kitchen knife. On the other hand, a dull blade is more likely to crush than cut, producing uneven pieces and making cooking less pleasurable. Learn more about our journey at About us.
Key Takeaways
- Sharp blades are essential for efficient and safe cutting
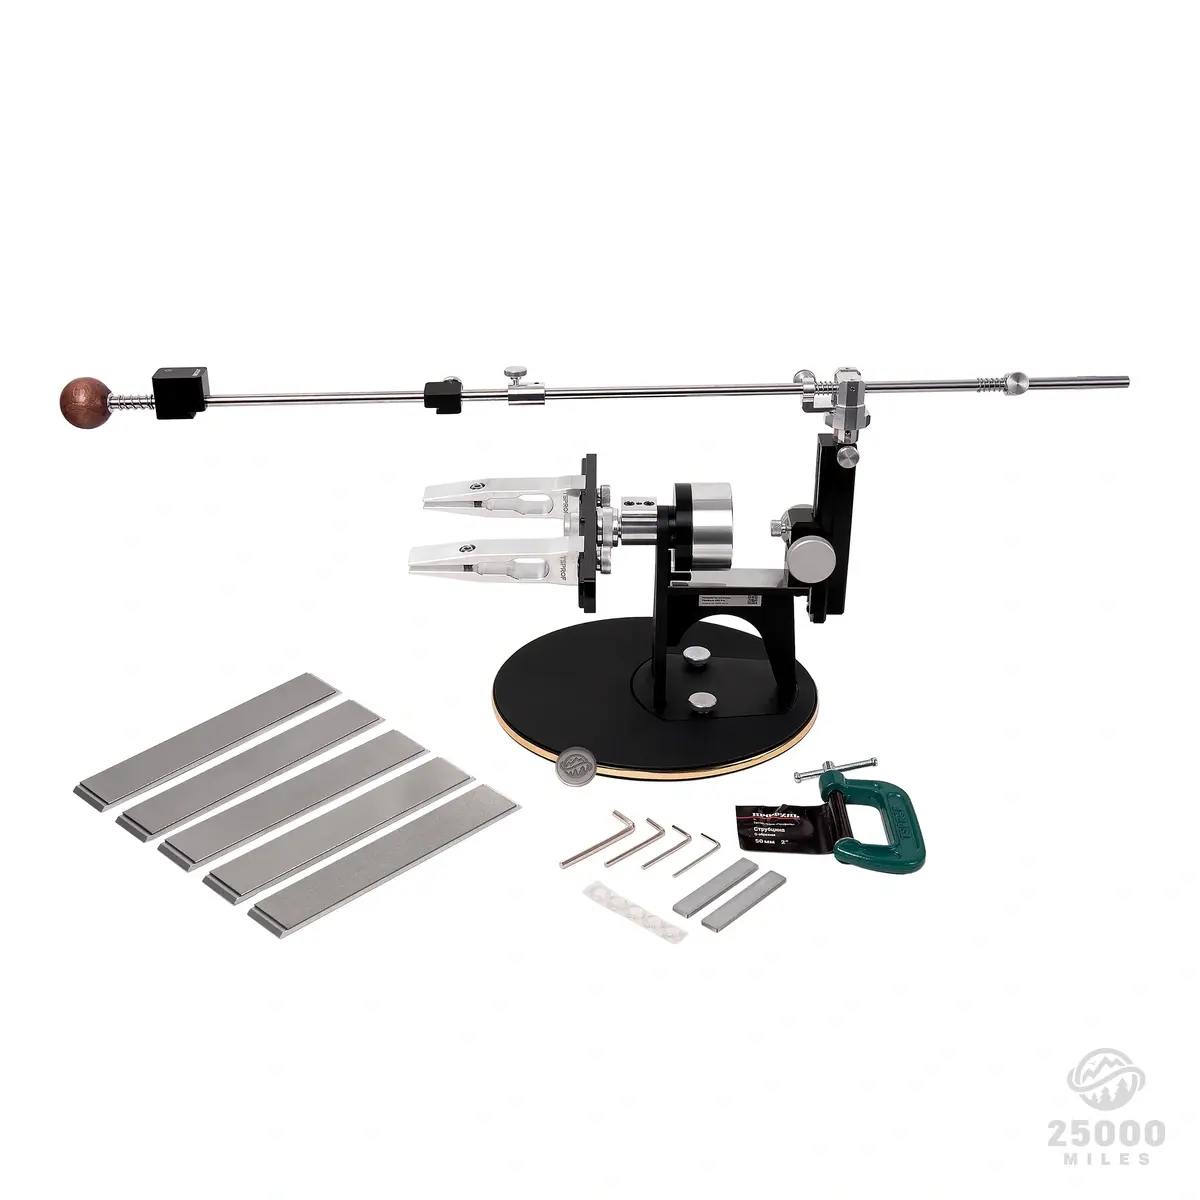
- Common DIY sharpening tools include sharpening stones, honing rods, and electric sharpeners
- Safety precautions when sharpening blades at home include wearing gloves and eye protection
- A step-by-step guide to sharpening blades includes cleaning the blade, choosing the right angle, and testing the sharpness
- Maintaining the sharpness of your blades involves regular honing and cleaning
- Choosing the right sharpening tool for different blades depends on the material and type of blade
- Tips and tricks for effective blade sharpening include using consistent pressure and angle
- Seek professional sharpening services when blades are damaged or require specialized sharpening techniques
Blades that are sharp also add to safety. Contrary to popular belief, dull blades are frequently more dangerous than sharp ones. I find that I use too much force when I’m trying to cut through materials with a dull edge, which raises the possibility of slipping and getting hurt.
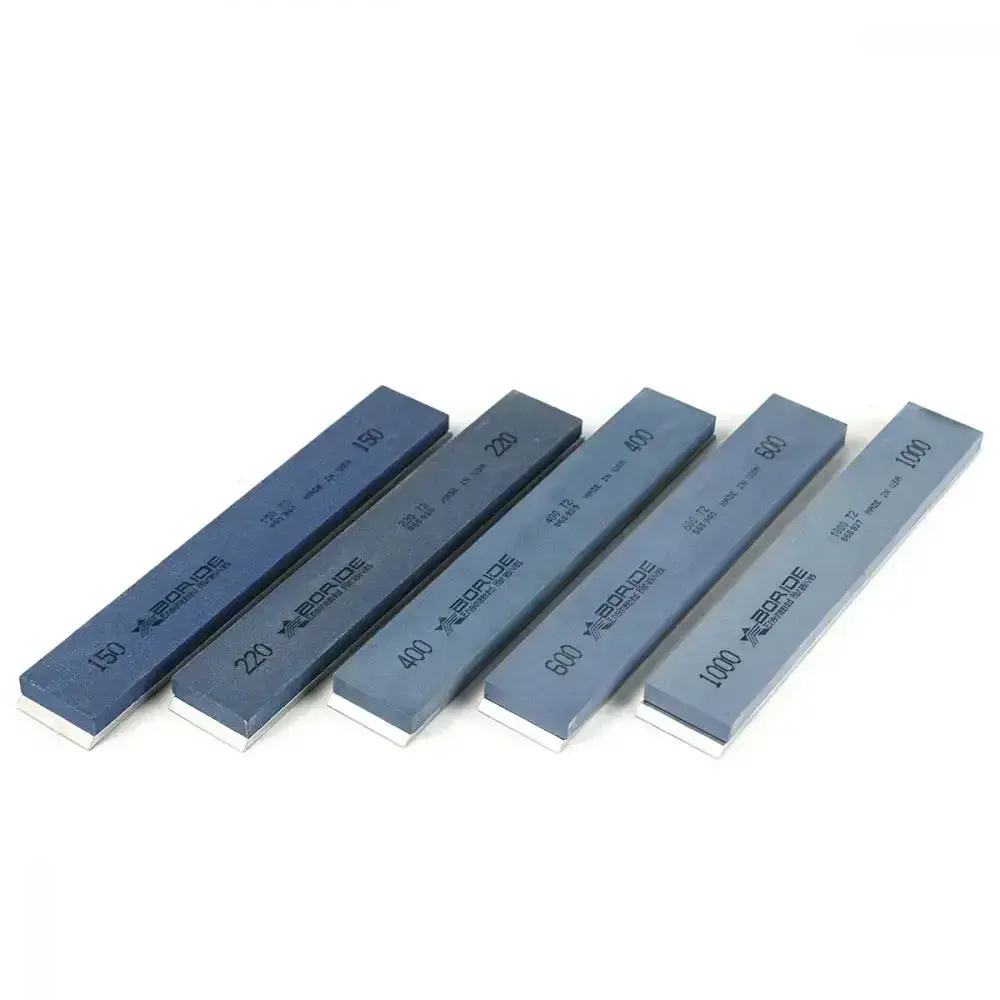
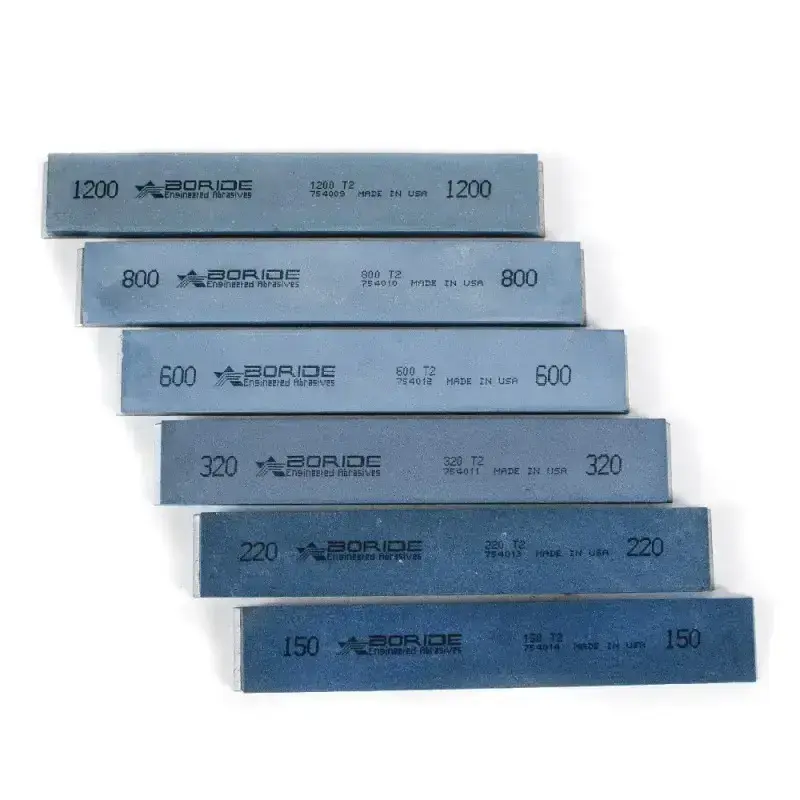
This is especially crucial for woodworking and other do-it-yourself projects where accuracy is essential. By putting sharpness first, I improve my productivity and make the workplace safer. Whetstones are an easy-to-use yet powerful tool. The whetstone is one of my most frequently used tools.
I can sharpen and grind the blade’s edge with this easy-to-use yet efficient tool, which is a block of stone. Because whetstones are available in a variety of grits, I can select the ideal degree of abrasiveness for my particular requirements. For example, I frequently reshape the edge using a coarser grit first, then polish it using a finer grit. Maintaining Sharpness Between Sharpening Sessions with Honing Rods. The honing rod, also called a sharpening steel, is another instrument that I use a lot.
| Sharpening Tool | Features | Price |
|---|---|---|
| Whetstone | Double-sided, coarse and fine grit | 20 |
| Sharpening Steel | Rod with fine ridges, hones blade edge | 15 |
| Electric Knife Sharpener | Automatic, multiple sharpening stages | 50 |
In between longer sharpening sessions, this tool is especially helpful for keeping my kitchen knives sharp. My knives will continue to function at their best if I realign any misaligned edges by running the blade along the honing rod at the proper angle. An Easy Choice for People with Busy Schedules: Electric Sharpeners. For people who want a quicker fix, I’ve also discovered that electric sharpeners can be a practical choice.
Busy people like myself who might not have the time for manual sharpening will find these devices ideal as they effectively sharpen blades using rotating abrasive wheels. As I start my journey to sharpen my blades, I understand that safety must always come first. Keeping my work area tidy and orderly is one of the most important safety measures I follow. I make it a point to get rid of anything superfluous before I start sharpening because a cluttered workspace can result in mishaps. I also always wear safety equipment, like cut-resistant gloves, to protect my hands from mishaps or unintentional slips. Making sure the blade is securely fastened while being sharpened is another crucial safety precaution.
When I use a honing rod or whetstone, I make sure the blade is steady and won’t come loose. I frequently use a vise to hold larger tools, like chisels or plane blades, firmly in place when I’m working with them. This reduces the chance of injury while also improving my control. Without sacrificing my safety, I can concentrate on getting that ideal edge if I take these precautions seriously. I use a methodical process that guarantees reliable results each and every time in order to properly sharpen my blades.
I start by assembling all required equipment and supplies, such as the sharpening tool of my choice, water (if using a whetstone), and a fresh cloth for cleaning the blade afterwards. Upon arranging everything, I start by evaluating the blade’s state to ascertain its level of sharpness. In order to make sure a whetstone is sufficiently lubricated, I begin by soaking it in water for ten to fifteen minutes.
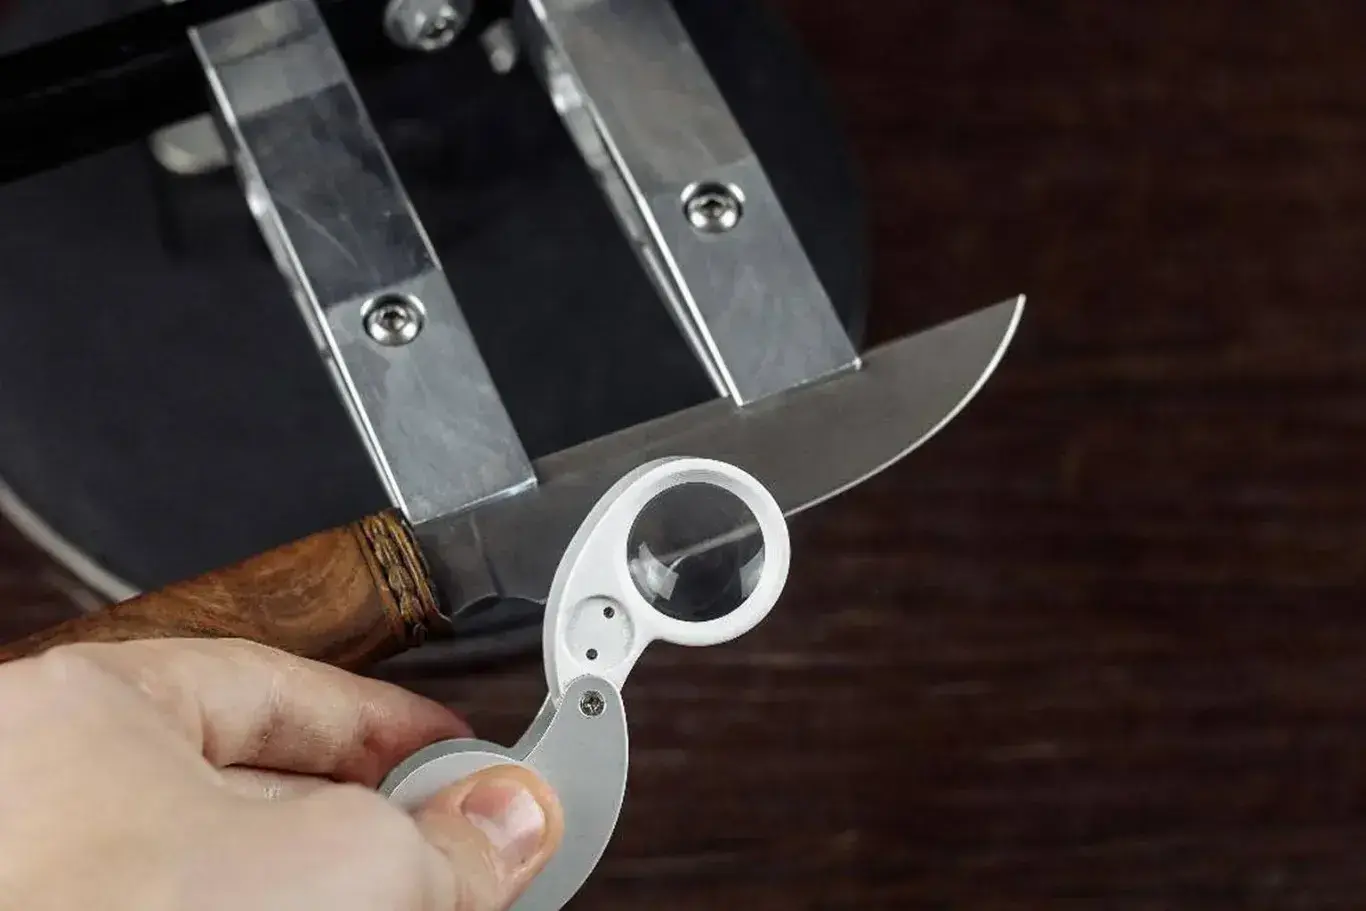
After setting the blade at the proper angle, which is usually about 20 degrees for kitchen knives, I start dragging it across the stone in even, fluid strokes. I apply light pressure and keep my angle constant all the way through. After making multiple passes on one side, I turn the blade over and do it again on the opposite side. I finish by honing the edge with a finer grit or honing rod to get that polished finish after both sides have been sharpened. After I’ve finished sharpening my blades, I understand that keeping them that way is just as crucial as the initial sharpening procedure.
Making proper use of my knives is one of the easiest ways I’ve found to keep them sharp. I am more likely to quickly dull the edge, for example, when I am cutting through tough materials or when I am using excessive force. I instead concentrate on using controlled, fluid motions and steer clear of hard surfaces that could harm the blade, like stone or glass.
To keep the edge sharp in between sharpening sessions, regular honing is also necessary. I can correct any small edge misalignments without frequently having to use full sharpening by introducing honing into my routine, maybe after every use. My blades last longer when I store them correctly; I never put them in drawers where they could get dulled or nicked, preferring to keep them in knife blocks or sheaths. As I experiment with different kinds of blades—from garden tools to kitchen knives—I’ve discovered that choosing the appropriate sharpening tool is essential to getting the best results. For example, I frequently use whetstones for my kitchen knives because of their adaptability and capacity to offer a sharp edge.
But for serrated knives, like those used for bread or tomatoes, I use special serrated knife sharpeners that can efficiently reach those hard-to-reach grooves. On the other hand, I find that a file or diamond sharpening stone are the best tools for sharpening garden tools like pruners or shears. These instruments give me the ability to keep the precise angle needed for these kinds of blades while still offering sufficient abrasiveness to restore their cutting capability. I can make sure that all of my tools stay in top shape by being aware of the particular needs of every kind of blade and matching them with the proper sharpening equipment. I have learned a few tips and tricks that have greatly enhanced my blade sharpening technique over the course of my journey. One important piece of advice is to always sharpen at the same angle to keep the edge even & efficient.
I’ve discovered that making a visual guide by using an angle guide or pencil to mark the desired angle on my whetstone helps with this. I’ve also learned to feel the edge carefully with my fingers to gauge my progress while sharpening, being careful not to cut myself. I can tell how much material I’ve removed and whether I’m getting the right sharpness thanks to this tactile feedback. Also, I always wipe down my blades and stones after using them to avoid any debris affecting performance. Even with my best efforts at home, I occasionally need to hire a professional sharpener.
When working with extremely costly or specialized blades, like vintage tools or chef knives, I frequently choose to hire professionals to make sure they are handled expertly. Blades can be restored to their original state by professionals using sophisticated tools & methods that are far superior to what I could do at home. It’s also a good idea for me to seek professional assistance if I have serious damage or chips in a blade’s edge that call for more extensive work than just sharpening. They are able to evaluate the damage and decide if replacement or repair is more appropriate. Finally, being aware of when to get expert assistance enables me to protect my priceless tools and make sure they continue to be secure & useful for many years to come. To sum up, becoming proficient in the art of blade sharpening has become a crucial tool in my toolbox, improving my productivity and security across a range of tasks.
I’ve turned what once seemed like a difficult task into a fun and fulfilling experience by realizing the value of sharp blades, using common do-it-yourself tools efficiently, taking safety precautions, and staying true to the right techniques. Sharp blades have become essential tools in my endeavors, whether I’m cooking or working on home renovation projects.
If you’re interested in DIY sharpening tools, you may also want to check out the article on 25000miles.eu about essential tools for woodworking projects. This article provides valuable information on the tools needed to keep your woodworking tools sharp and in top condition. It’s a great resource for anyone looking to improve their woodworking skills and maintain their tools properly.
FAQs
What are DIY sharpening tools?
DIY sharpening tools are tools that can be made or assembled at home to sharpen various items such as knives, scissors, gardening tools, and more.
What are the benefits of using DIY sharpening tools?
Using DIY sharpening tools can save money, as they can be made from household items or inexpensive materials. They also allow for customization and can be tailored to specific sharpening needs.
What are some common DIY sharpening tools?
Common DIY sharpening tools include sharpening stones, sandpaper, leather strops, honing rods, and improvised tools such as ceramic mugs or glass bottles.
Are DIY sharpening tools effective?
When used properly, DIY sharpening tools can be effective at sharpening various items. However, it’s important to use caution and follow proper sharpening techniques to avoid damaging the item being sharpened.
What are some safety considerations when using DIY sharpening tools?
Safety considerations when using DIY sharpening tools include wearing protective gloves and eyewear, securing the item being sharpened, and using caution when handling sharp objects. It’s also important to ensure that the DIY sharpening tool is stable and secure during use.